Press from the floor
A floor-supported pad raises the torso relative to the floor. Establish the actual bottom position and a controlled way to handle the dumbbells.


AMM · Floor & Core Applications
Use the floor as the foundation for pressing and controlled trunk work. Explore what the contoured support changes, then select the position and range deliberately.
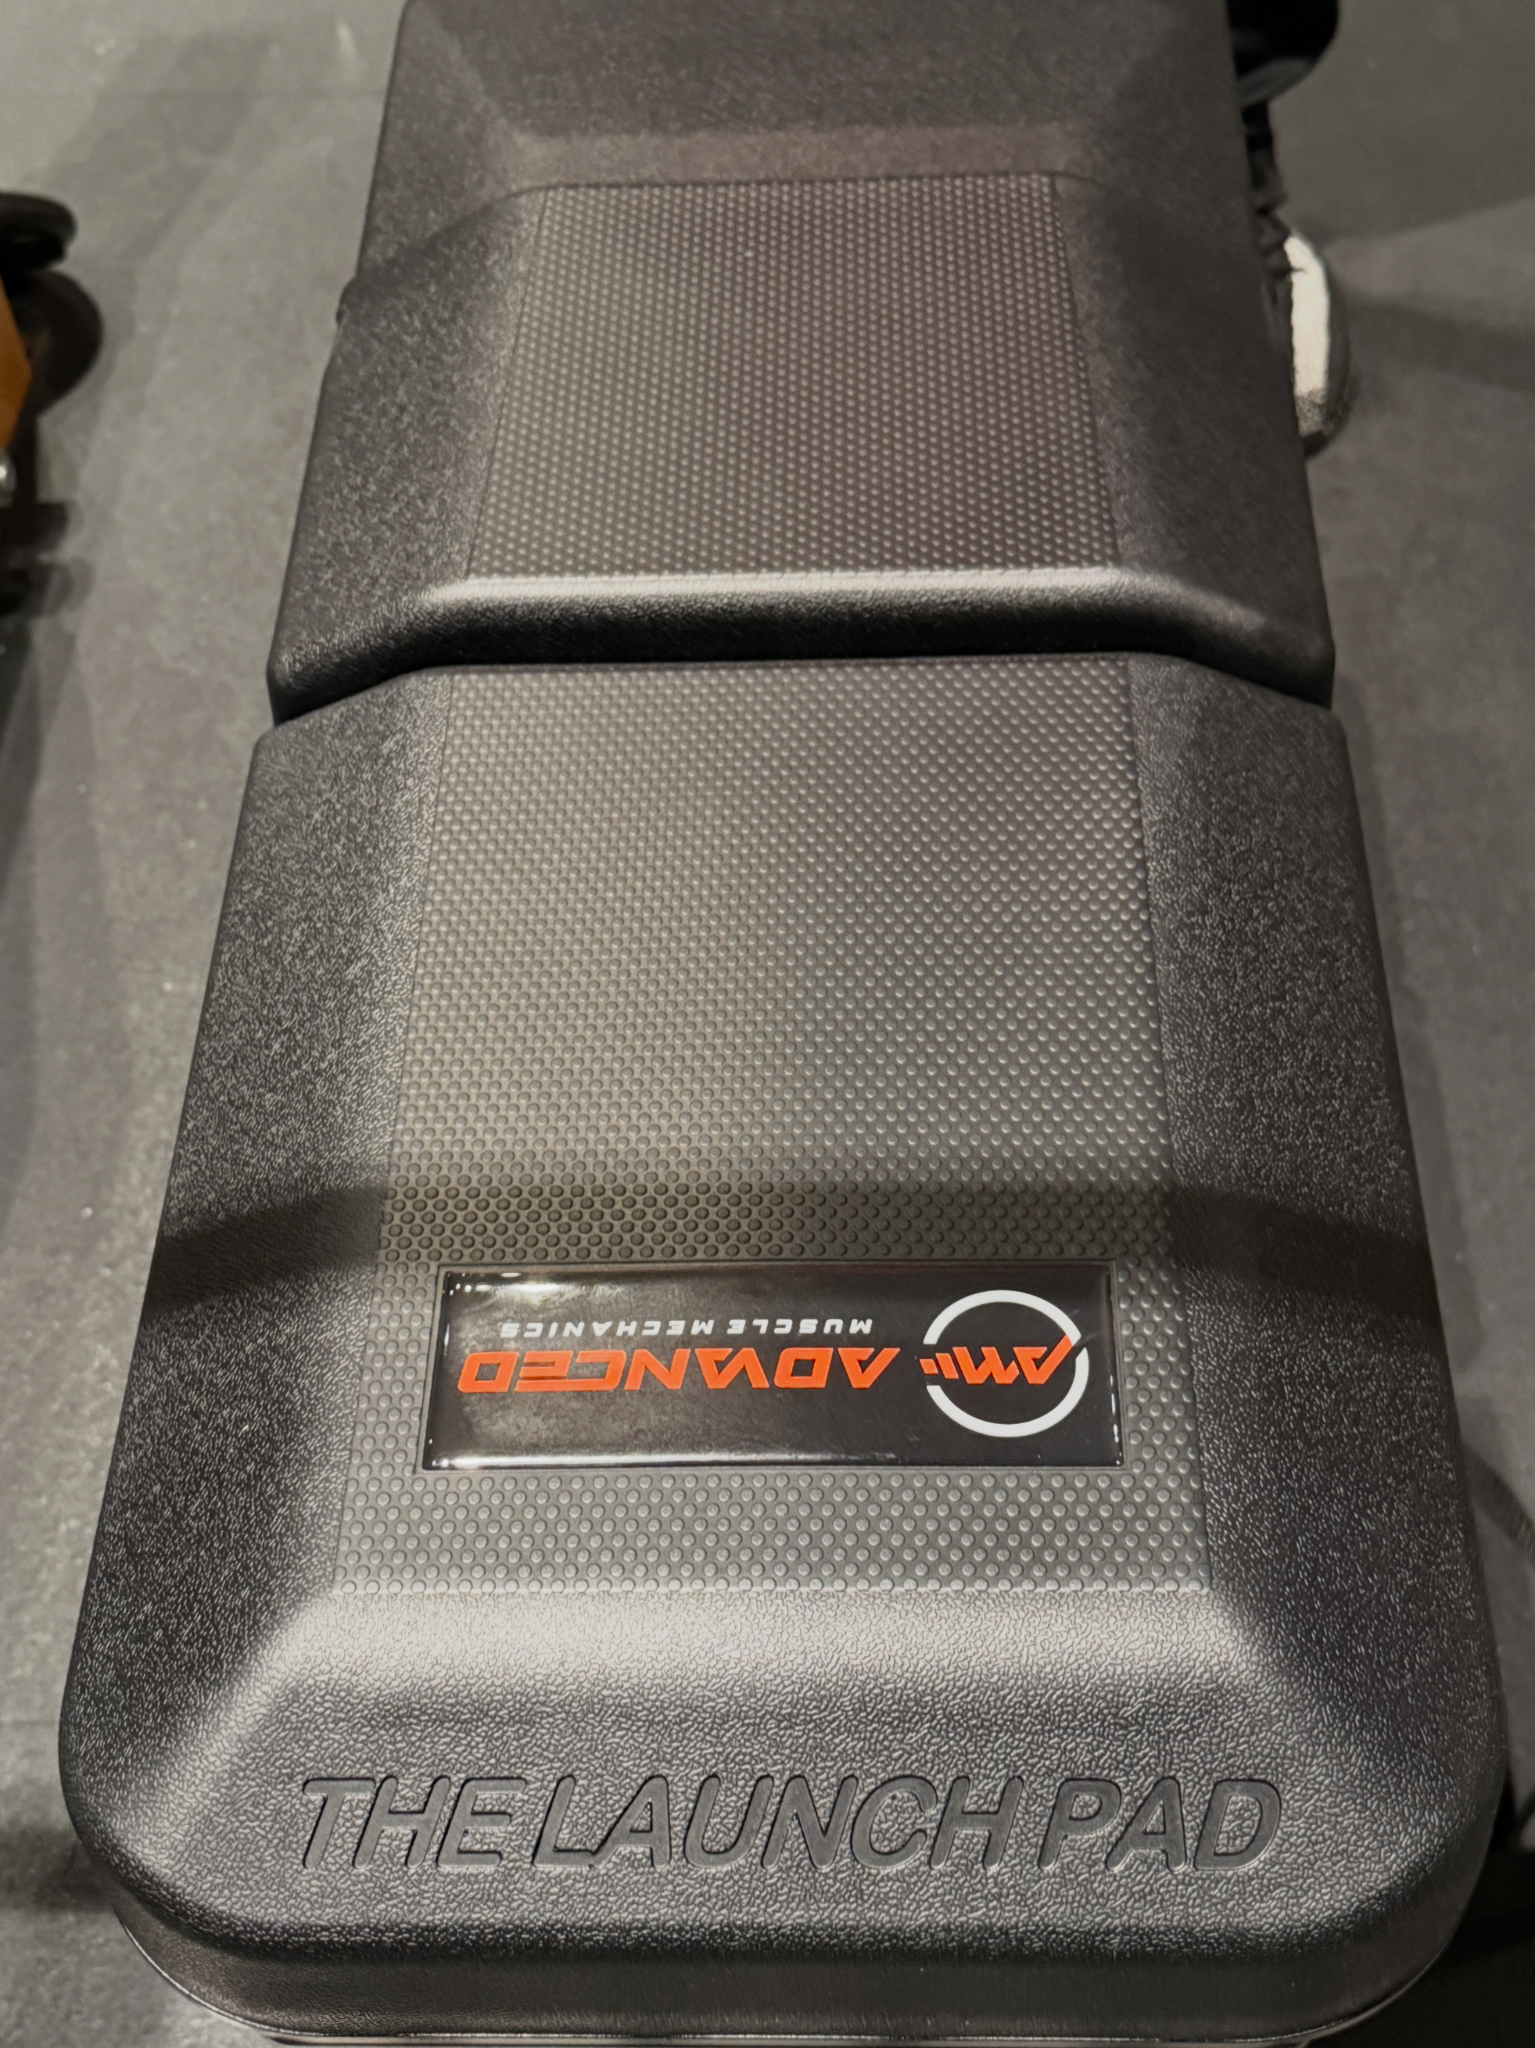
01 · Application logic
A floor-supported pad raises the torso relative to the floor. Establish the actual bottom position and a controlled way to handle the dumbbells.
Use manageable limb or trunk movement while keeping the chosen body position repeatable. Shorten the lever or range when control becomes the limiting factor.
A glute-bridge application uses the pad as part of a floor-based body-support configuration. Confirm that the contact remains stable as force changes direction.
02 · Compare the setup
The floor sets the original relationship between the torso, arms and lower position.
The raised support changes that relationship. Rehearse the new lower position and preserve the intended movement standard.
03 · Exercise library
Choose a demonstration or expand a card for setup and coaching considerations. Written application guides are identified separately.
 Content coming soon
Explore a pressing setup with The Launch Pad supported directly by the floor.
Set the positionLay the pad on a level, non-slip floor and establish head, torso and foot contact. Use manageable dumbbells and a controlled way to get into position.
Coach the repetitionCompare the actual lower position with a conventional floor press. A raised torso can change when the upper arms meet the floor.
Check the configurationDo not assume the usual floor-press range limit remains unchanged. Establish the intended stopping point before increasing load.
Content coming soonUse a supported floor position to explore controlled trunk work.
Set the positionPlace the pad fully on the floor. Find comfortable head and torso contact and choose a small, controllable movement.
Coach the repetitionKeep the starting position and movement range repeatable. Breathing and control take priority over extra range.
Check the configurationDo not treat the contour as a prescription for spinal extension. Adjust or choose another setup if contact is uncomfortable.
Content coming soonUse alternating limb movement to practice trunk control from a supported position.
Set the positionLie supine on a stable floor-supported pad. Choose a limb position that can be maintained without losing the intended trunk position.
Coach the repetitionMove one limb at a time or use a shorter lever before combining opposite arm and leg motion.
Check the configurationJudge the variation by control and comfort. Added elevation changes the setup; it is not evidence of greater muscle activation.
 ▶ Watch demonstration
Explore upper-back support for hip-extension work.
Set the positionUse only a stable, fully supported placement that will not slide as force changes direction. Establish the upper-back contact and foot position before adding resistance.
Coach the repetitionKeep the intended hip motion controlled and repeatable; avoid shifting the contact point during the set.
Check the configurationCheck the bench or floor contact and a manageable way to enter and exit the setup.
05 · Fit the session
Name the movement and the reason for changing the support.
Record the contact, equipment settings and intended range.
Use an effort and volume appropriate to the current program.
Evaluate control and performance before changing another variable.
Continue exploring
Advanced Muscle Mechanics®
Explore the product, understand the setup and choose the applications that belong in your training.