Hip & glute support
Hip thrusts, glute bridges and supported hip-extension variations use a body-contact role. Stability and controlled entry and exit are central setup decisions.


AMM · Leg & Glute Applications
Explore hip extension, unilateral work, compatible leg machines and carefully selected elevation applications. Decide what the pad is doing in the movement before deciding how much to load it.
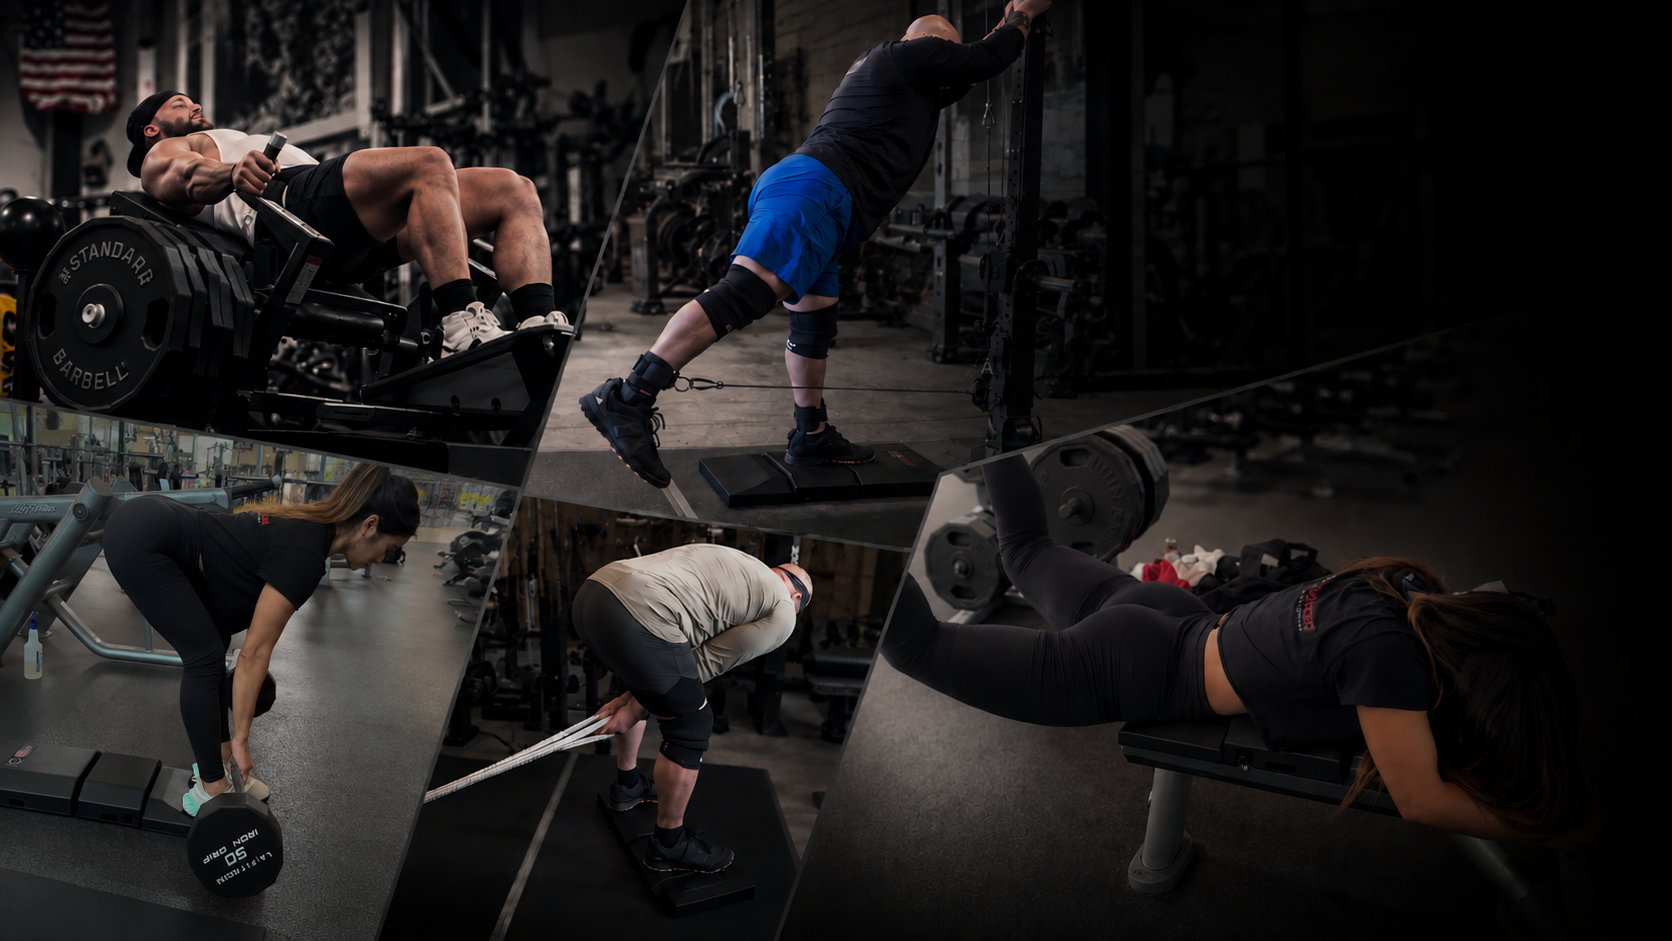
01 · Application logic
Hip thrusts, glute bridges and supported hip-extension variations use a body-contact role. Stability and controlled entry and exit are central setup decisions.
Explore compatible leg curls, leg extensions, leg presses, glute-drive and seated hip-adductor/abductor machines. Check the seat, back support, restraints and movement path for the exact station.
A deficit hinge changes the athlete-to-floor relationship; a cable kickback may benefit from extra foot clearance. Both require stable, appropriate standing support.
02 · Compare the setup
The working foot, the implement and the athlete begin at their existing heights.
The floor and cable remain in place while the athlete is raised. That can change clearance or travel, provided the stance remains stable.
Machine-based lower-body work
Hip extension: a compatible back-support interface can change the athlete’s contact while the machine supplies the resistance. Check the back support, belt and foot platform together.
Thighs move inward. This is an inner-thigh application for the hip adductors; keep the seated position and thigh-pad contact consistent.
Thighs move outward. This is an outer-hip and glute-focused accessory application; choose the torso position and range deliberately.
These applications are included in the library with written setup guidance. AMM exercise footage will be added as it becomes available.
03 · Elevation, explained
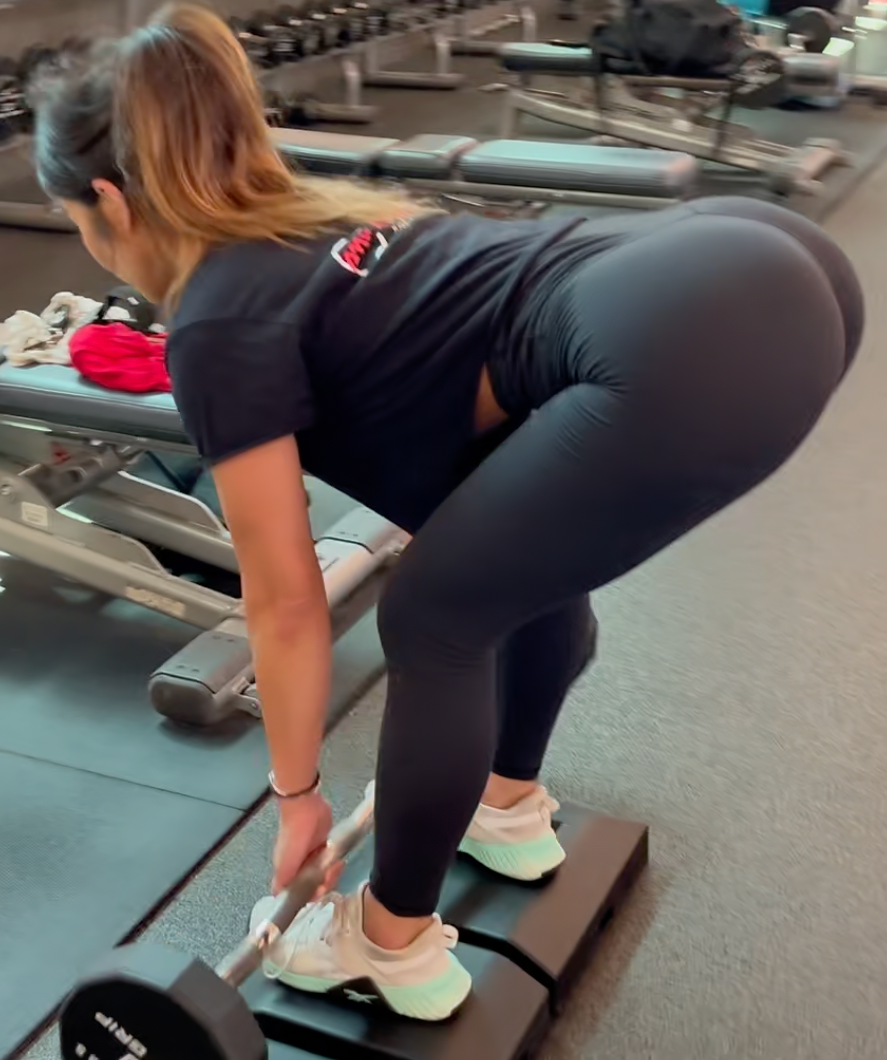
In a deficit deadlift, the athlete stands above the surface supporting the bar. This changes the starting geometry and can increase the required travel. A deficit RDL and a heel-elevated RDL are distinct variations; the demonstration library keeps them separate.
Raising a securely supported standing position can create clearance for the working foot. The useful outcome is a smooth intended path without premature floor contact, while maintaining balance and a stable handhold.
04 · Exercise library
Choose a demonstration or expand a card for setup and coaching considerations. Written application guides are identified separately.
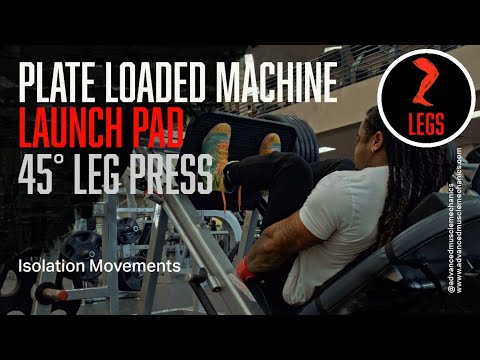 ▶ Watch demonstration
Explore a different body-support position within a compatible leg machine.
Set the positionCheck the seat, backrest, pivots, restraints and foot or roller contact after inserting the pad. Use the machine’s instructions as the starting point.
Coach the repetitionRepeat the same seat settings and control the chosen range without losing support.
Check the configurationDo not use the pad if it prevents a restraint engaging, misaligns the joint with the pivot, or interferes with the machine.
 ▶ Watch demonstration
Explore upper-back support for hip-extension work.
Set the positionUse only a stable, fully supported placement that will not slide as force changes direction. Establish the upper-back contact and foot position before adding resistance.
Coach the repetitionKeep the intended hip motion controlled and repeatable; avoid shifting the contact point during the set.
Check the configurationCheck the bench or floor contact and a manageable way to enter and exit the setup.
 Content coming soon
Create clearance between the working foot and the floor during a cable kickback.
Set the positionUse a secure placement that fully supports the standing foot and allows a stable handhold. Keep the pad clear of the cable path and attachment.
Coach the repetitionMove the working leg through the intended arc without using extra trunk motion to create range. Test the floor clearance before loading.
Check the configurationElevation is useful only if stance and balance remain controlled. Choose a purpose-built platform if the pad cannot provide a stable standing contact.
Content coming soonCreate additional travel from the athlete’s standing position to a bar resting on the floor.
Set the positionUse only if both feet can be fully and stably supported on a secure pad placement. Confirm the support does not rock, deform unpredictably or slip, then rehearse with a light load.
Coach the repetitionKeep the bar path close and choose a start position you can control. Reduce the deficit or use a purpose-built platform when the contour does not suit the stance.
Check the configurationApproximately three inches describes nominal elevation, not a uniform usable height across a contoured pad. Do not stack pads or use an unstable foot contact.
 ▶ Watch demonstration
Explore upper-back support for hip-extension work.
Set the positionUse only a stable, fully supported placement that will not slide as force changes direction. Establish the upper-back contact and foot position before adding resistance.
Coach the repetitionKeep the intended hip motion controlled and repeatable; avoid shifting the contact point during the set.
Check the configurationCheck the bench or floor contact and a manageable way to enter and exit the setup.
 ▶ Watch demonstration
Explore supported hip extension with room for the legs to travel.
Set the positionUse only a stable support with sufficient leg clearance and a secure upper-body contact. Rehearse the movement without added load.
Coach the repetitionControl the leg motion and keep the contact position consistent without swinging the whole setup.
Check the configurationConfirm support and entry/exit first. This demonstration does not make every bench suitable for this application.
 ▶ Watch demonstration
Explore a different body-support position within a compatible leg machine.
Set the positionCheck the seat, backrest, pivots, restraints and foot or roller contact after inserting the pad. Use the machine’s instructions as the starting point.
Coach the repetitionRepeat the same seat settings and control the chosen range without losing support.
Check the configurationDo not use the pad if it prevents a restraint engaging, misaligns the joint with the pivot, or interferes with the machine.
 ▶ Watch demonstration
Explore a different body-support position within a compatible leg machine.
Set the positionCheck the seat, backrest, pivots, restraints and foot or roller contact after inserting the pad. Use the machine’s instructions as the starting point.
Coach the repetitionRepeat the same seat settings and control the chosen range without losing support.
Check the configurationDo not use the pad if it prevents a restraint engaging, misaligns the joint with the pivot, or interferes with the machine.
 ▶ Watch demonstration
Use elevation or a changed foot position to alter the geometry of a hinge.
Set the positionConfirm a stable, non-slip placement with the intended foot contact fully supported. Rehearse the hinge without load.
Coach the repetitionMaintain controlled balance and a repeatable lower position. Choose the range from movement control, not from elevation alone.
Check the configurationThe pad is contoured. Do not assume that every point offers a level, three-inch standing surface.
 ▶ Watch demonstration
Explore the demonstrated heel-elevated stance as a separate hinge variation.
Set the positionConfirm a stable, non-slip placement with the intended foot contact fully supported. Rehearse the hinge without load.
Coach the repetitionMaintain controlled balance and a repeatable lower position. Choose the range from movement control, not from elevation alone.
Check the configurationA heel-elevated RDL is not the same task as a whole-foot deficit deadlift. Keep the support secure and judge the stance on control and balance.
 ▶ Watch demonstration
Explore the demonstrated heel-elevated stance as a separate hinge variation.
Set the positionConfirm a stable, non-slip placement with the intended foot contact fully supported. Rehearse the hinge without load.
Coach the repetitionMaintain controlled balance and a repeatable lower position. Choose the range from movement control, not from elevation alone.
Check the configurationA heel-elevated RDL is not the same task as a whole-foot deficit deadlift. Keep the support secure and judge the stance on control and balance.
 ▶ Watch demonstration
Use an appropriate support contact for a unilateral lower-body variation.
Set the positionCheck the pad and supporting surface for movement. Establish a balanced stance and a comfortable rear-foot contact before loading.
Coach the repetitionKeep front-foot pressure, stance length and intended depth repeatable.
Check the configurationThe setup must suit the athlete’s balance and available range; elevation is not a reason to force depth.
Content coming soonExplore a different back-support interface during a compatible machine-based hip thrust.
Set the positionEvaluate the machine’s back support, foot platform and belt or restraint together. Place The Launch Pad only where it can remain securely supported without affecting the machine’s moving parts or locking system.
Coach the repetitionSet a repeatable foot position and controlled hip-extension range. Keep the intended torso contact consistent as the back support or lever moves.
Check the configurationRecheck belt fit, start position and release access after adding the pad. Machine designs vary; the interface must preserve the intended restraint and movement path.
Content coming soonExplore a different seated support relationship during inner-thigh adduction work.
Set the positionOn a compatible machine, evaluate The Launch Pad against the existing seat and backrest. Preserve foot support, appropriate thigh-pad contact and access to the range-adjustment control.
Coach the repetitionBring the thighs inward through the selected range with a controlled return. Keep the pelvis and torso position consistent rather than shifting to finish a repetition.
Check the configurationThis application trains the hip adductors. Adding support must not prevent the thigh pads, seat controls or movement stops from functioning as intended.
Content coming soonExplore a different seated support relationship during outer-hip abduction work.
Set the positionCheck how the pad changes the relationship between the torso, seat, foot supports and thigh pads. Use a placement that remains stable through the machine’s intended range.
Coach the repetitionMove the thighs outward and return under control. Record the chosen torso position and range so the exercise remains repeatable across sets.
Check the configurationConfirm that the added support preserves thigh-pad contact, range controls and entry and exit. Treat torso angle as a setup choice rather than assuming every angle produces the same task.
05 · Fit the session
Name the movement and the reason for changing the support.
Record the contact, equipment settings and intended range.
Use an effort and volume appropriate to the current program.
Evaluate control and performance before changing another variable.
Continue exploring
Advanced Muscle Mechanics®
Explore the product, understand the setup and choose the applications that belong in your training.