Strength practice
Select a movement and execution standard relevant to the athlete’s goal. Record the interface and keep enough exposures comparable to judge performance.


AMM · Coaching & programming
Start with the intended training effect, then choose the support, movement and comparison that make the session repeatable. Use The Launch Pad as one deliberate variable in a broader program.
01 · Start with the objective
Select a movement and execution standard relevant to the athlete’s goal. Record the interface and keep enough exposures comparable to judge performance.
Choose pressing, pulling or accessory variations that fit the planned muscle-group work. Track effort, range and total work; do not assume more available range or a different surface proves more growth.
Use a manageable load to learn a support relationship, stabilize a contact or rehearse clearance. Judge the application on controlled, repeatable execution.
02 · Build the prescription
Bench or machine model, bench angle, pad position, attachment and contact points.
Grip, stance, touch point, movement path, chosen range and tempo or pause.
The resistance and effort target used by the existing program. Record assistance or bands separately.
Sets, repetitions, frequency and how the exercise fits the rest of the week.
Define when the set stops: target reps, loss of the agreed technique, or another chosen effort rule.
Decide what evidence would keep, modify or remove the application at the next review.
03 · Session architecture
These are organizational examples, not fixed set-and-repetition prescriptions. Keep the athlete’s current program, recovery and priorities as the starting point.
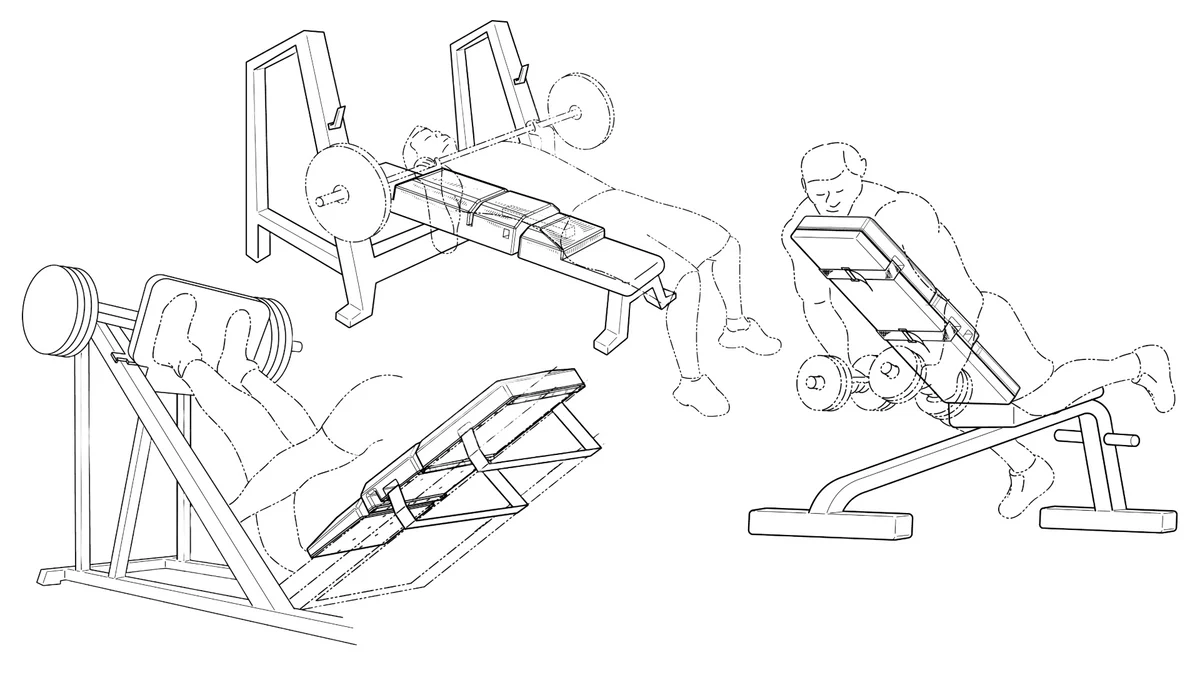
Main press → supported pull → shoulder or arm accessory. Keep the purpose of each exercise distinct; the same pad may move between stations.
Main lower-body task → compatible machine accessory → hip-extension work. Add an elevation application only when its geometry serves the goal.
Floor pressing → controlled trunk work → an appropriate floor-supported hip-extension variation. Establish the contact and range for each task.
04 · Evaluate the change
Learn the new setup before judging it from a single unfamiliar attempt.
Compare the same exercise, effort rule and relevant setup variables.
Log completed work, repetition quality, comfort and practical setup time.
Keep, refine or remove the application according to the original goal.
A practical training comparison can guide coaching decisions, but it does not isolate every cause of a performance change. Avoid changing the surface, grip, range, load and exercise all at once if the aim is to understand the interface itself.
05 · For facilities & teams
Document the compatible bench or machine, strap routing, pad position and required settings. Keep the reference near the station.
Make setup checks part of the transition between athletes. A quick diagram or reference photo can prevent repeated guesswork.
Use a consistent exercise name in the training log. Include the support position when it changes the task athletes are being asked to repeat.
06 · Take it into the weight room
Copy into your training log
07 · Research context
4-week study
Bars show reported mean changes from zero on the same 0–25 kg scale. Standard deviations are reported here, not drawn as error bars: flat bench 11.1 ± 2.4 kg; Launch Pad 18.4 ± 4.3 kg.
8-week study
Bars show reported mean changes from zero on the same 0–25 kg scale. Standard deviations are reported here, not drawn as error bars: flat bench 9.7 ± 3.4 kg; Launch Pad 19.4 ± 4.3 kg.
The four-week study used eccentric overload in both groups, so it tested the interface within that shared method. The eight-week study examined a particular off-season program. These designs inform the bench-training discussion without turning either protocol into a universal prescription.
Advanced Muscle Mechanics®
Explore the product, understand the setup and choose the applications that belong in your training.