Supine · face up
Start with hips near the end of the lumbar section, align the lumbar contour with the lower-back position, and maintain supported head contact. For a barbell press, check eye-to-bar position, grip, rack height and feet together.


AMM · Positioning & setup
Start with the support surface, establish the athlete’s contact, then check the full movement. The same Launch Pad can require a different position in a different setting.
01 · Four checks
Match the pad to the support and the intended exercise. Check that the support is stable and the contact is appropriate.
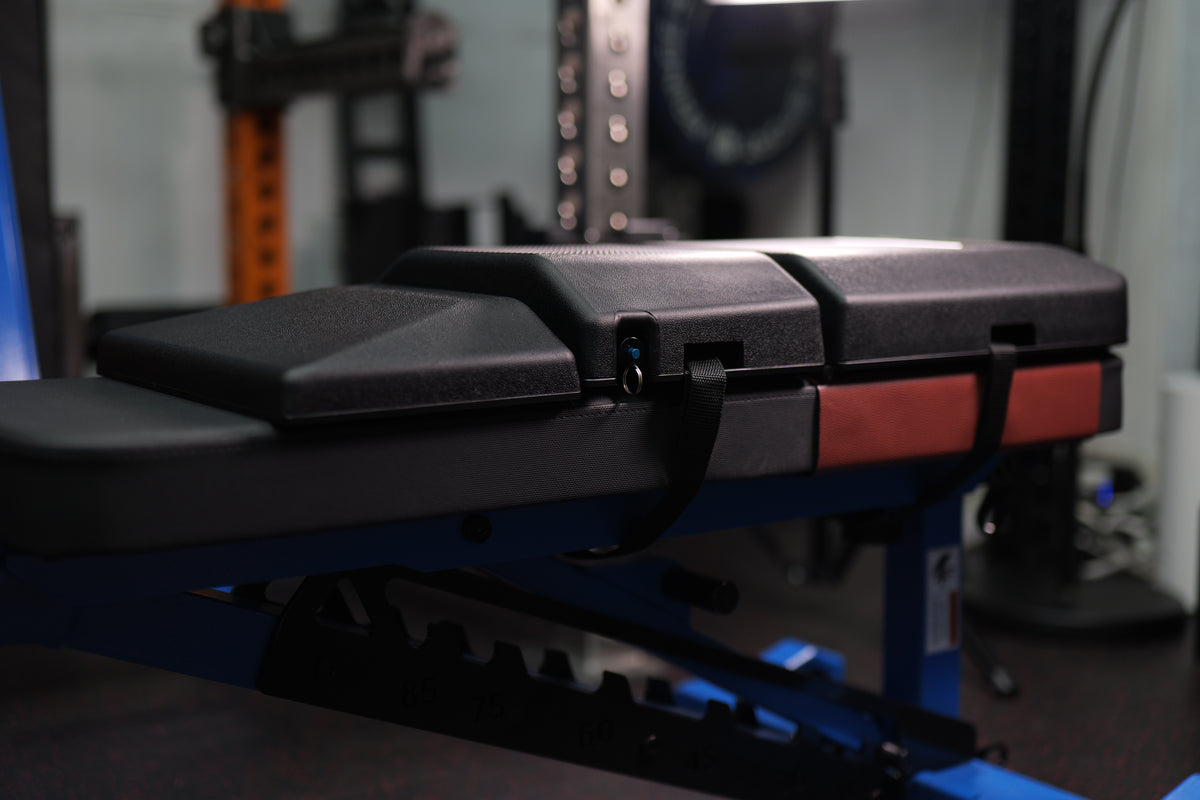
On compatible benches, use the supplied straps and attachment instructions. Check for movement before getting into position.
Establish the head, torso, hips and feet, or the specific contact used by the exercise.
Move through the intended range with little or no resistance. Check clearance, restraints and entry and exit.
02 · Bench attachment
For compatible bench applications, route the upper and lower straps through the intended slots and around the bench’s supporting structure. Keep straps away from moving mechanisms, adjustment locks and the exercise path.
Bench-press placement must also preserve head support and bar access. AMM’s barbell setup describes a small top overhang, approximately 1–1.5 inches, where the bench allows it; dumbbell and machine placements generally start flush. Confirm the current product instructions and your actual support before using either arrangement.
03 · Athlete contact
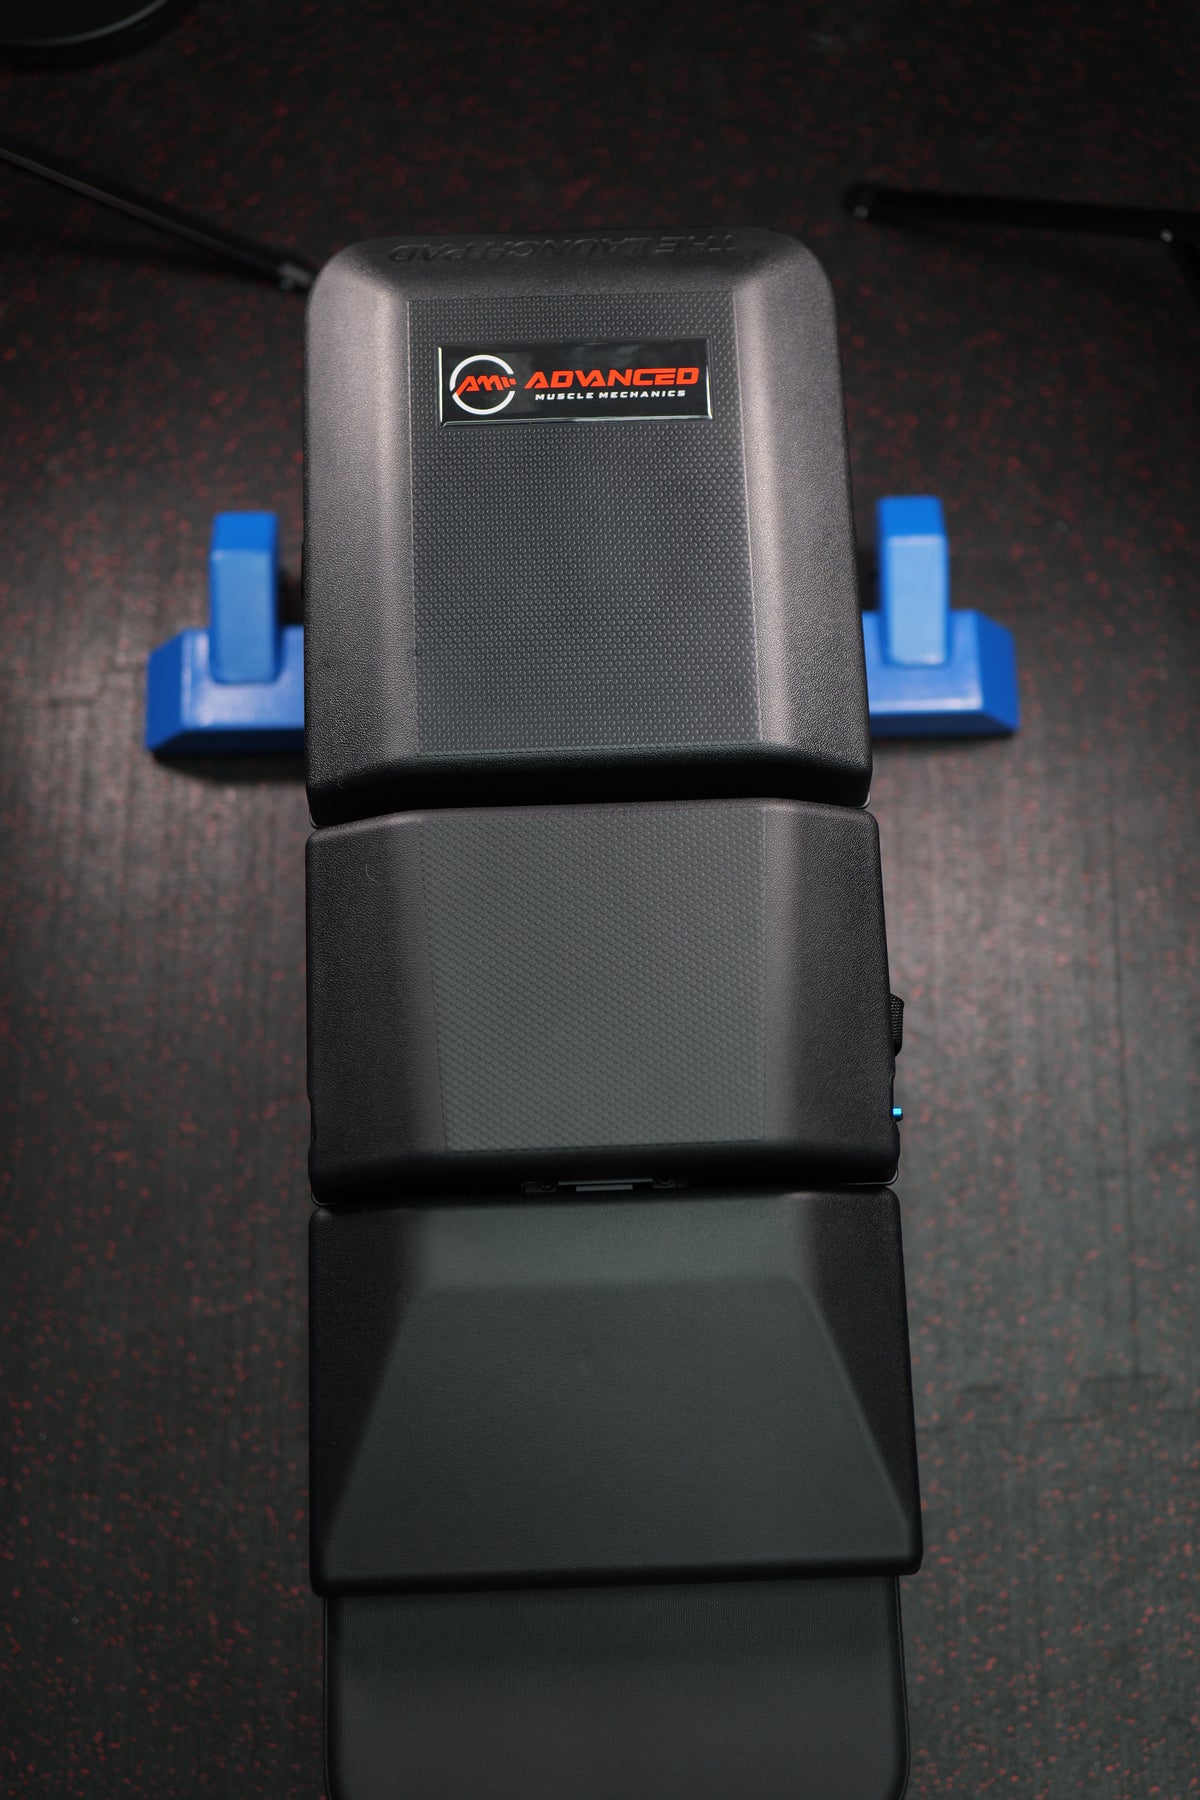
Start with hips near the end of the lumbar section, align the lumbar contour with the lower-back position, and maintain supported head contact. For a barbell press, check eye-to-bar position, grip, rack height and feet together.
Set the chest contact to suit the row or accessory movement. Keep the neck comfortable and the face clear; the chin should not carry the load. Confirm room for the arms, weights and intended breathing.
Recheck seat height, handle reach, joint-to-pivot alignment and any thigh or torso restraints. An added surface must leave the machine’s intended controls and movement path functional.
04 · Floor & elevation
For pressing or core work, the pad lies directly on a level, non-slip floor and supports the athlete. Establish the actual range and contact position rather than assuming a conventional floor exercise behaves identically.
For an elevation or clearance application, the pad must provide stable, fully supported foot contact. Its contour matters. If the intended stance cannot be supported securely, use a purpose-built platform.
05 · Check the whole system
Is the pad supported appropriately? Can the straps be used without interfering with the equipment? Does the placement stay put?
Do bars, handles, cables, weights and limbs clear the pad? Do locks, safeties and restraints still work as intended?
Can the athlete establish the intended position, complete a controlled repetition, and enter and exit the setup?
Advanced Muscle Mechanics®
Explore the product, understand the setup and choose the applications that belong in your training.