Chest-supported rows
A stable chest contact gives the row a repeatable starting point. Set the bench angle and leave enough room for the arms and implement below or beside it.


AMM · Back Applications
Explore chest-supported rows, seated cable rows and compatible pulldown applications. Start with the contact point and the direction of the pull.
01 · Application logic
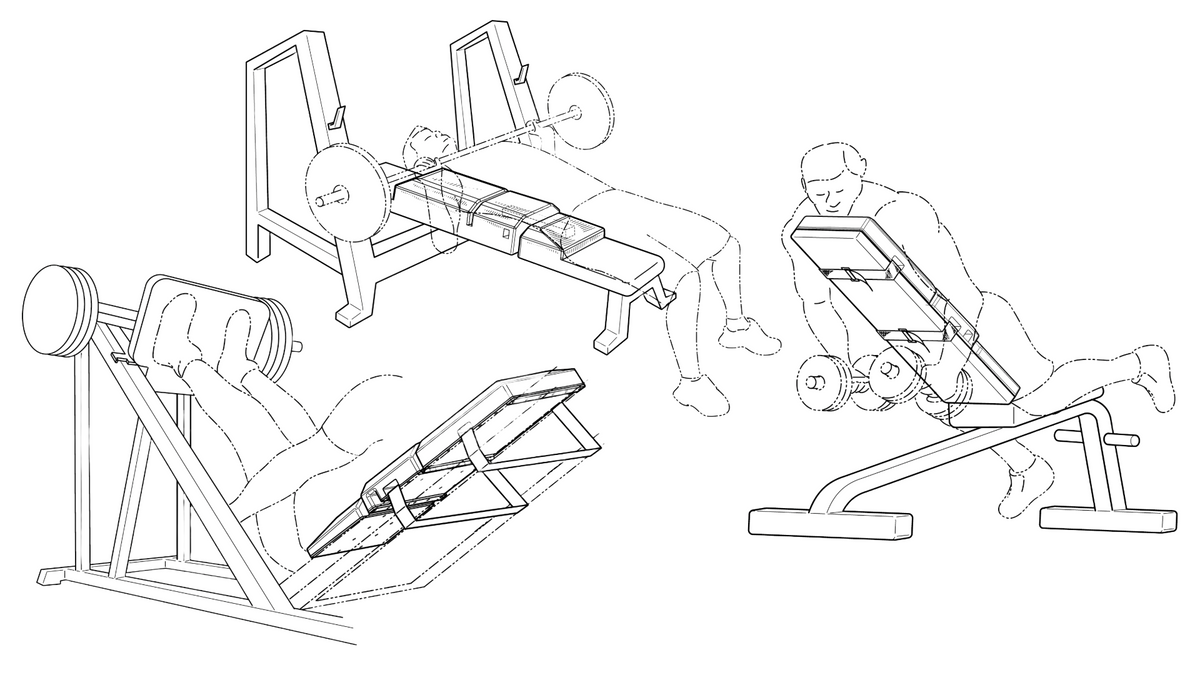
A stable chest contact gives the row a repeatable starting point. Set the bench angle and leave enough room for the arms and implement below or beside it.
Elevation changes the torso’s relationship to the cable and foot support. Check the seat, bracing position and handle path together.
Evaluate the seat and thigh restraint first. The added pad must preserve the restraint and allow an appropriate handle reach.
02 · Compare the setup
A row may allow more torso movement, depending on the exercise and setup.
Torso contact provides a physical reference. Whether that suits the goal depends on the movement standard and the athlete’s execution.
03 · Exercise library
Choose a demonstration or expand a card for setup and coaching considerations. Written application guides are identified separately.
 ▶ Watch demonstration
Use chest support or a different seat height to organize a pulling movement.
Set the positionPosition the pad for the demonstrated chest or seated contact. Confirm that the bench, feet and pulling station stay stable.
Coach the repetitionChoose a repeatable elbow path and avoid bouncing the torso off the support to finish a repetition.
Check the configurationCheck that the handles and weights clear the pad and bench through the full intended path.
 ▶ Watch demonstration
Use chest support or a different seat height to organize a pulling movement.
Set the positionPosition the pad for the demonstrated chest or seated contact. Confirm that the bench, feet and pulling station stay stable.
Coach the repetitionChoose a repeatable elbow path and avoid bouncing the torso off the support to finish a repetition.
Check the configurationCheck that the handles and weights clear the pad and bench through the full intended path.
 ▶ Watch demonstration
Use chest support or a different seat height to organize a pulling movement.
Set the positionPosition the pad for the demonstrated chest or seated contact. Confirm that the bench, feet and pulling station stay stable.
Coach the repetitionChoose a repeatable elbow path and avoid bouncing the torso off the support to finish a repetition.
Check the configurationCheck that the handles and weights clear the pad and bench through the full intended path.
 ▶ Watch demonstration
Use chest support or a different seat height to organize a pulling movement.
Set the positionPosition the pad for the demonstrated chest or seated contact. Confirm that the bench, feet and pulling station stay stable.
Coach the repetitionChoose a repeatable elbow path and avoid bouncing the torso off the support to finish a repetition.
Check the configurationCheck that the handles and weights clear the pad and bench through the full intended path.
 ▶ Watch demonstration
Use chest support or a different seat height to organize a pulling movement.
Set the positionPosition the pad for the demonstrated chest or seated contact. Confirm that the bench, feet and pulling station stay stable.
Coach the repetitionChoose a repeatable elbow path and avoid bouncing the torso off the support to finish a repetition.
Check the configurationCheck that the handles and weights clear the pad and bench through the full intended path.
 ▶ Watch demonstration
Explore the relationship between torso support, handle reach and the line of pull.
Set the positionCheck compatibility with the seat, thigh restraint and cable path. Establish stable lower-body contact before pulling.
Coach the repetitionKeep the selected torso position and grip consistent rather than changing them as the set becomes harder.
Check the configurationAn added surface must not compromise the restraint or move the athlete outside the machine’s intended operating position.
 ▶ Watch demonstration
Explore the relationship between torso support, handle reach and the line of pull.
Set the positionCheck compatibility with the seat, thigh restraint and cable path. Establish stable lower-body contact before pulling.
Coach the repetitionKeep the selected torso position and grip consistent rather than changing them as the set becomes harder.
Check the configurationAn added surface must not compromise the restraint or move the athlete outside the machine’s intended operating position.
05 · Fit the session
Name the movement and the reason for changing the support.
Record the contact, equipment settings and intended range.
Use an effort and volume appropriate to the current program.
Evaluate control and performance before changing another variable.
Continue exploring
Advanced Muscle Mechanics®
Explore the product, understand the setup and choose the applications that belong in your training.